Posts Tagged With: painting

Kids Art Lesson: Sketching, Photography, Ansel Adams Biography & Connecting With Nature

IMG_8244

View of the Sierras, photograph taken by M, age 7

Grab some sketch pads & pencils, a camera, and the following information about photographer Ansel Adams, find a nice spot in nature, and you have a wonderful art lesson to share with kids!

The beauty of nature has been an inspiration to artists for all of time. I would like to share how I presented the works of Ansel Adams, and also touched briefly on Claude Monet, while taking the kids out to sketch in the mountains. All you need is a place in nature (mountains, parks, fields, and even your own backyard ), sketch pads, pencils, a camera, and some artist information and examples.

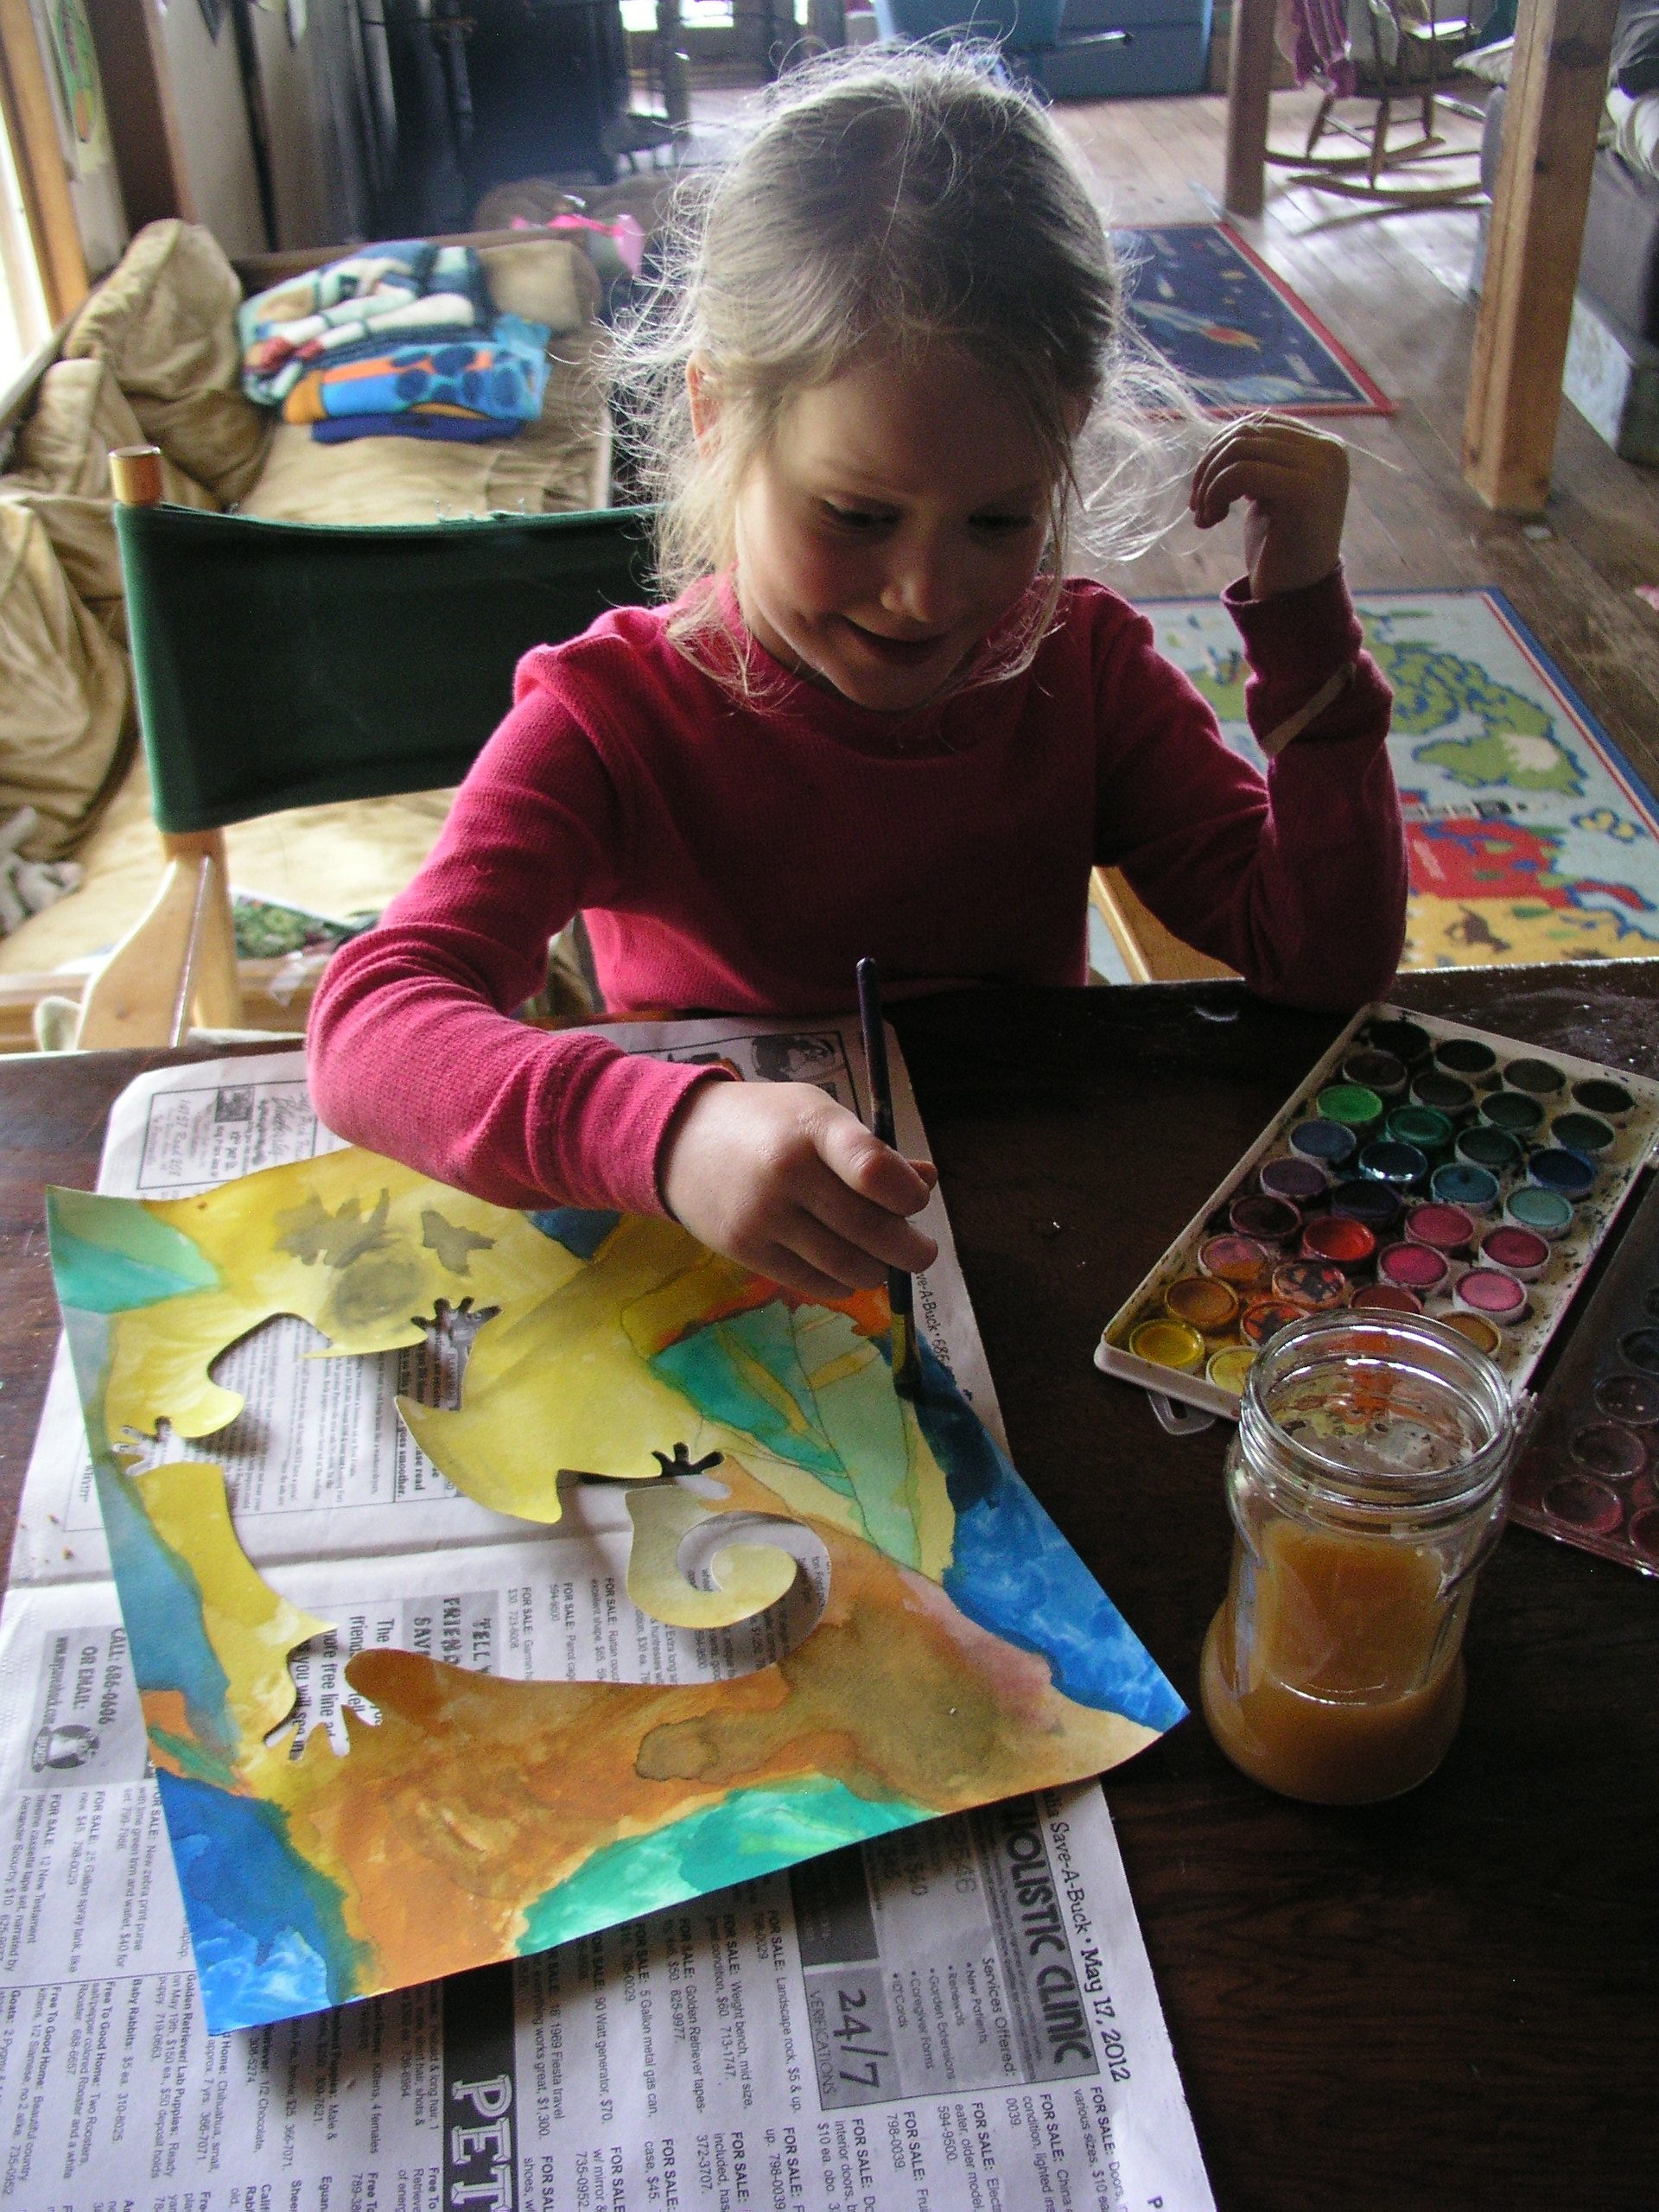
Captain’s friends came for a fun visit this week and we went on a hike in Sequoia Forest. I told them a little bit about how artists of many mediums have been inspired by nature, and that today we would be talking about the famous photographer Ansel Adams. We talked about his life and looked at photographs (see information below) and also talked about Claude Monet’s work. They learned  the term “impressionism” and its origin. I gave each kid a sketch pad and invited them to find a spot to sit with a nice view to sketch. We talked about perspective, lines and details, and then they went to work. The sketches were amazing! The kids took their sketches home to watercolor, and Captain painted hers right away that evening. I showed them a postcard book of Adam’s lovely winter landscapes and after they “oohed and ahhed” over their favorites, I gave them the opportunity to take 3 photographs each, with my iphone, encouraging them to take their time. They each chose their favorite photo and I promised to print their special photo in black and white and frame them. They were thrilled. *Note: I printed the photos at Costco for 13 cents each, and bought black frames at a dollar store. I can’t wait to give the kids their own photographic works of art this week!

IMG_8247

Beautiful Granite, photograph taken by Captain, age 6

IMG_8252

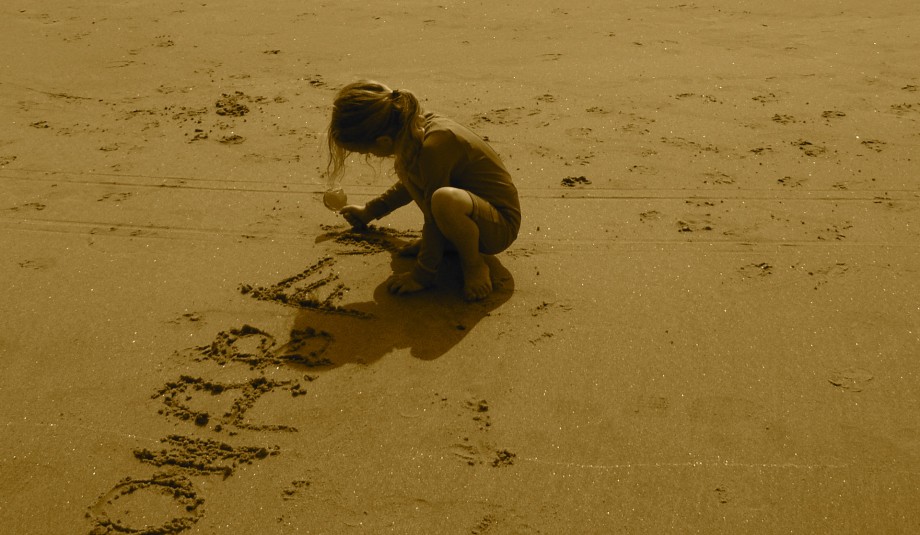
Bueller in the Mountains, photograph taken by J, age 5

IMG_8242

M with his mountain sketch.  He really loved the whole experience of sketching and photographing an amazing view of the Sierras from atop a giant, granite rock face.

image

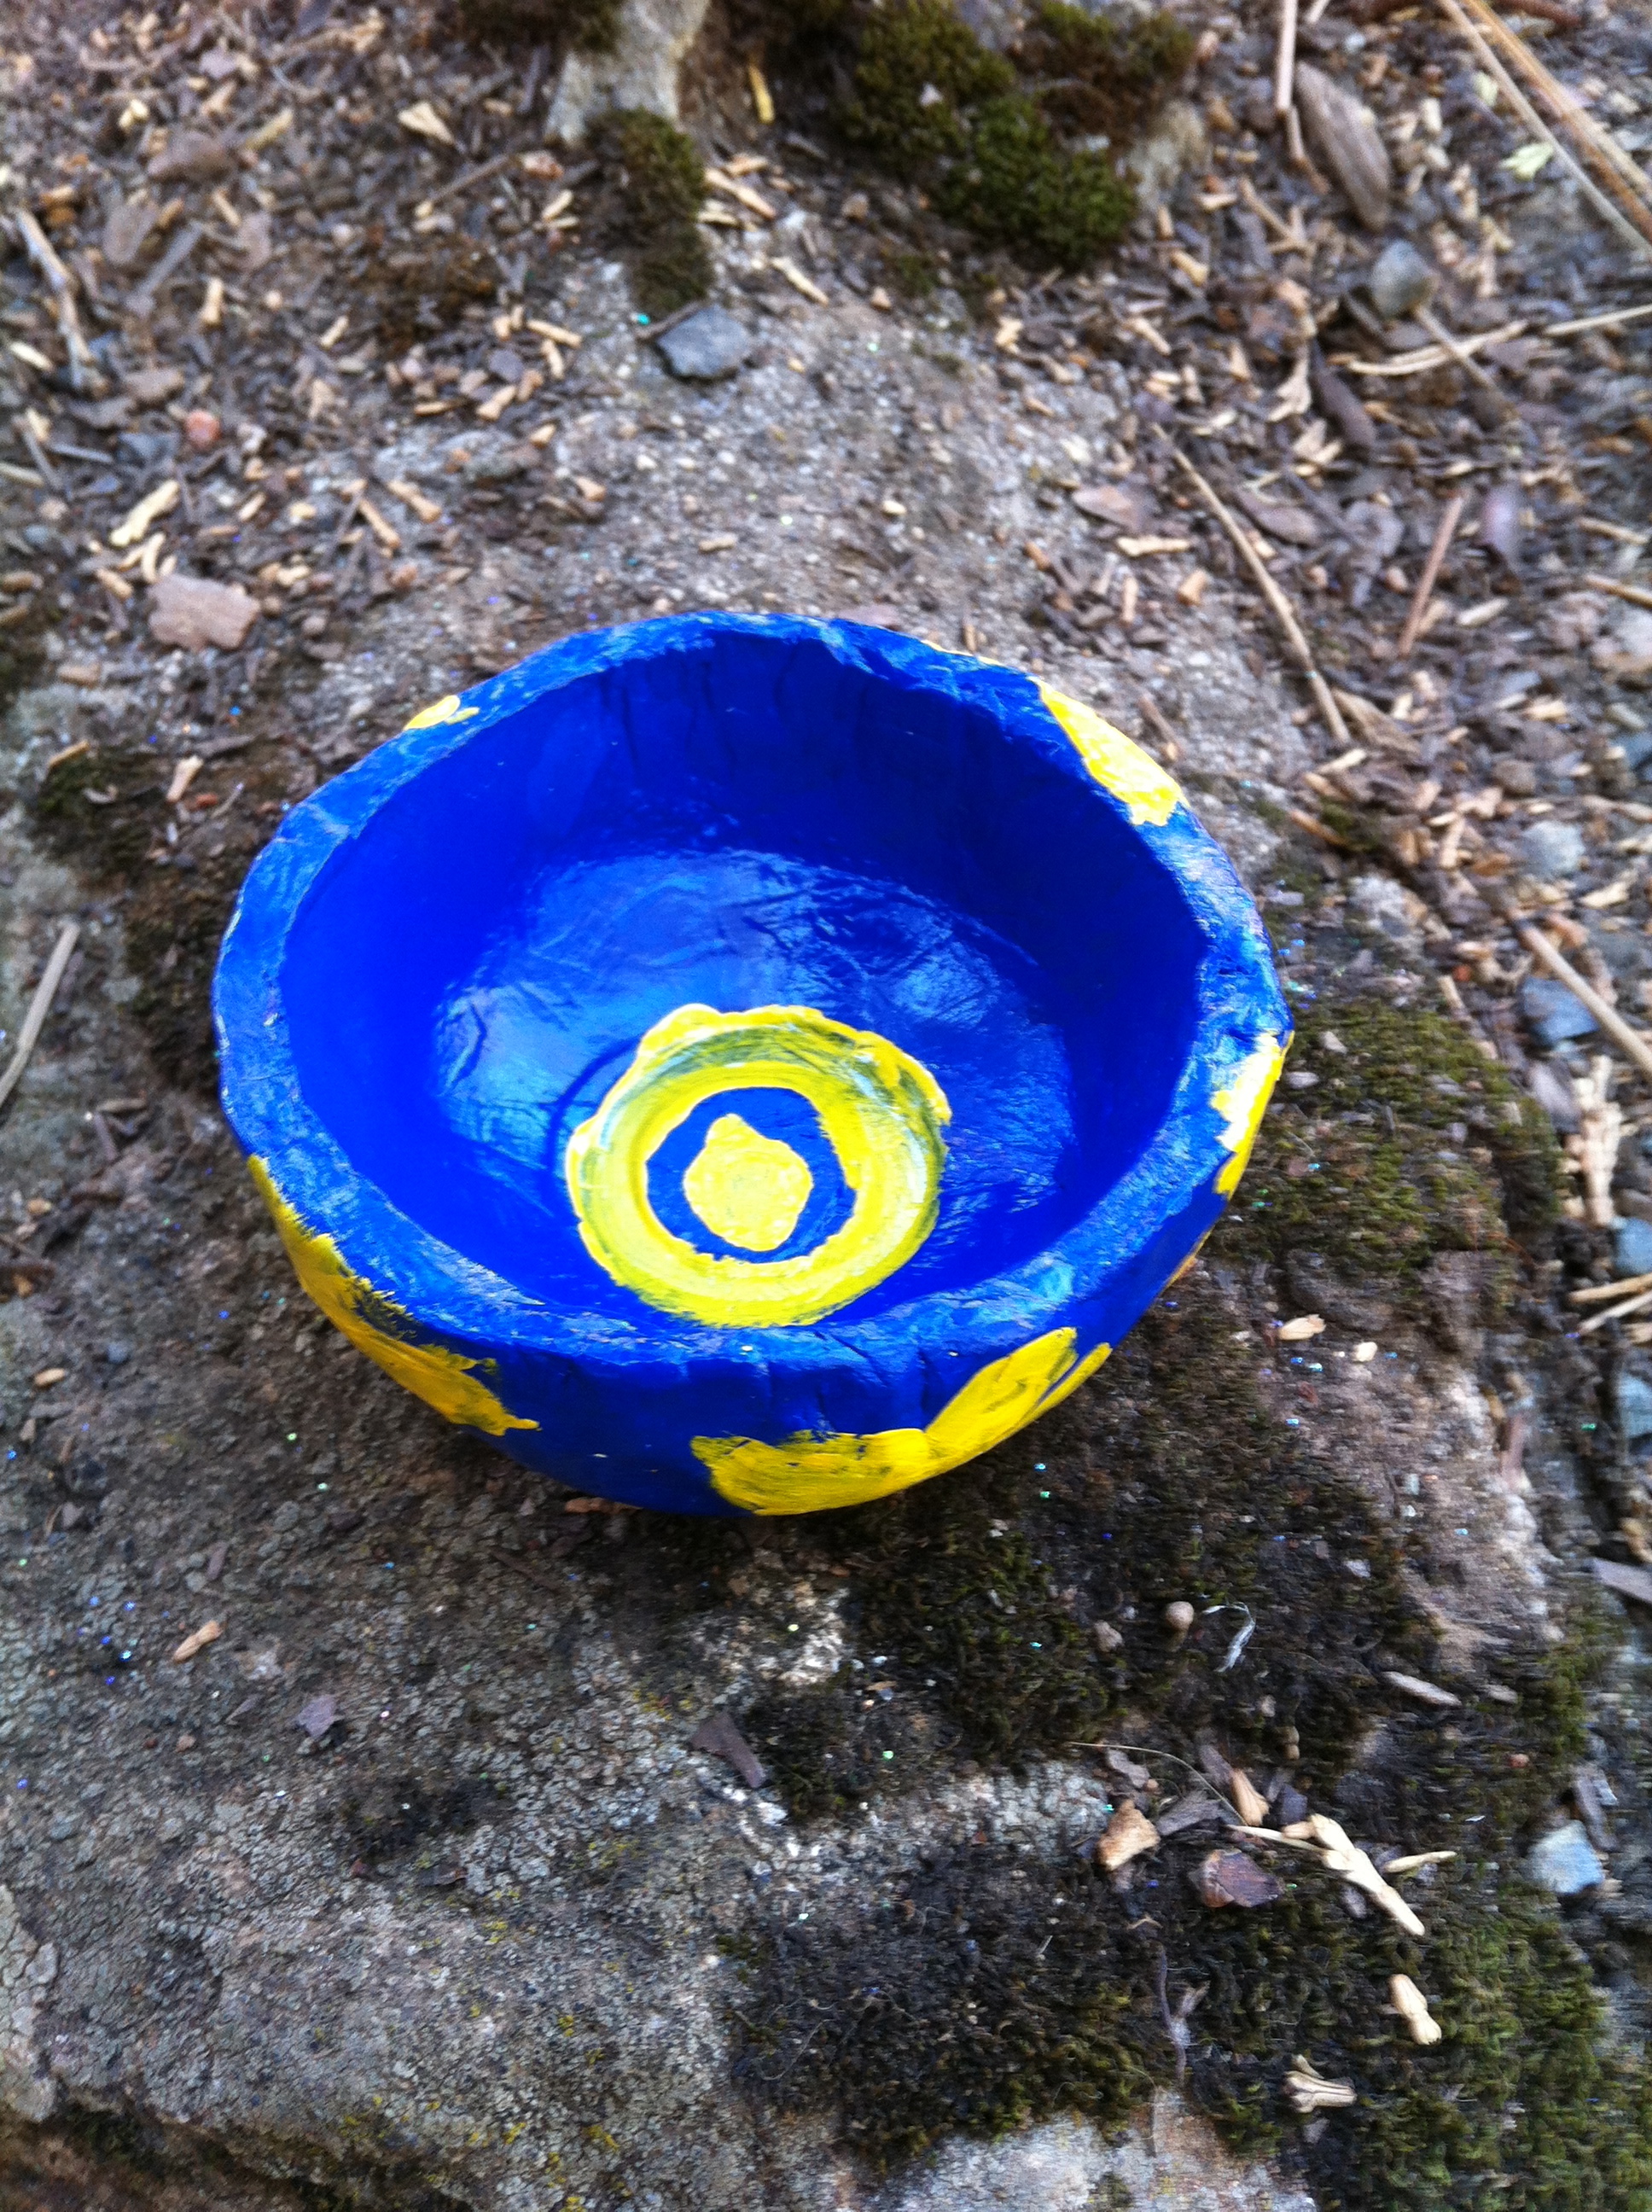
Captain’s watercolored sketch of granite and mountains.

Here is some wonderful, easy to understand information about Ansel Adams to share with your kids. I found these facts on a wonderful site called Mr. Nussbaum! Learning + FunClick on the link to easily print these biography pages, and also check out some of the cool science and other learning ideas and lessons presented there!

Ansel Adams Biography for Kids

Glacier National Park

Early Life

Ansel Adams was a famous American photographer and environmentalist. He was born near the Golden Gate Bridge in San Francisco, California, on Feb. 20, 1902. When he was four years old, his nose was broken when he was knocked to the ground by an aftershock of the great earthquake. His nose was crooked for the rest of his life. One of his earliest memories was seeing smoke from the great fire that followed the earthquake.

Growing Up

He was an only child who performed poorly at school, so his parents had him tutored at home. Although he was hyperactive and possibly dyslexic, he was thought to possess an eidetic memory, which is a form of photographic memory that includes memories of smells, sounds, and other senses. Ansel enjoyed music and taught himself to play the piano when he was twelve. He also enjoyed nature and loved walking in the sand dunes near his home. His father gave him a telescope, and they shared a great interest in astronomy.

A Photographer is Born in Yosemite National Park

When he was fourteen, Ansel read In the Heart of the Sierras by James Mason Hutchings, and he convinced his parents to take a vacation in Yosemite National Park. His parents gave him a Kodak Brownie camera for the trip, and Ansel’s interest in photography was born as he tramped through the park’s mountains. When he talked about the trip, Ansel said, “the splendor of Yosemite burst upon us and it was glorious… One wonder after another descended upon us… There was light everywhere… A new era began for me.” Some of his most famous photographs were of Yosemite. His work helped raise awareness of and interest in America’s national parks. In 1927, Ansel took one of his best known photos, “Monolith, the Face of Half Dome” at Yosemite.

Grand Teton Mountains and Snake River

The Sierra Club

When he was seventeen, Ansel joined the Sierra Club. The club works to preserve the earth’s natural wonders and resources. He spent four summers as the caretaker of the Sierra Club visitor center in Yosemite Valley, and was an active member of the club for the rest of his life. Ansel was interested in environmental issues related to national parks, especially Yosemite, and the preservation of wilderness.

Photography as an Art

Ansel learned basic darkroom technique working part-time for a photo finisher in San Francisco. In 1927, Albert Bender, a businessman and patron of the arts, helped publish Ansel’s first portfolio, Parmelian Prints of the High Sierras. Ansel soon got paid for photos, and he began to think about a career as a photographer instead of a pianist. In 1933 he opened his own art and photography gallery in San Francisco. He often worked for eighteen or more hours a day, for days and weeks on end. He learned from and exhibited with other famous photographers of the time including Alfred Stieglitz, Imogen Cunningham, Paul Strand, and Edward Weston. They developed photography as a form of art. Ansel helped to establish the first department of photography at a museum at the Museum of Modern Art in New York.

Sierra Nevada Mountains

Ansel’s Work in Space

Ansel Adams’ photographs recorded what many of the National Parks were like before tourism. His photograph of the Grand Tetons and the Snake River was one of 115 images chosen to grace the Voyager spacecraft in an effort to share information about life on Earth with a possible alien civilization. He died on April 22, 1984 in Monterey, California.

image

No matter how I photographed these lovely works, I couldn’t help but get glare off the glass. Funny how it made the cloudy, gray sky look blue in M’s photo!

Thank you so much for reading. I wish you a glorious, dramatic, black and white day, filled with color!

Good thoughts, Karen

Categories: Art Rocks For Kids!, Family fun, Homeschooling Projects, Sequoia National Forest & Park | Tags: , , , , , , , , , , , | 24 Comments

Make Fun Egyptian Gold Bracelets!

IMG_8144

Toilet paper tubes, paper towel pieces, macaroni, glue and gold spray paint. Yep, that’s all it took to make these sturdy cuff bracelets!

When delving into Ancient-Egypt studies, there is nothing more fun that the huge variety of crafts and projects that can be done. This is a remarkably simple project that makes for some surprisingly sturdy costume jewelry for play. Captain made these delightful gold cuffs with just a little help from mom. And, don’t forget, these cuffs are for boys too. Egyptian men and boys adorned themselves with beautiful jewelry as well!

You’ll Need: One toilet paper tube per set of cuffs, a paper towel, white school glue, a small bowl, dry macaroni and gold spray paint 

IMG_8140

1. Cut the toilet paper tube in half. Cut lengthwise along the tube to make it cuff-style (so they fit on any sized wrist as well). The child can then draw a line where the macaroni is going to be glued on, if they wish.

2. Mix a squirt of white glue into a bowl and add a little water to thin it. Twist a scrap of paper towel and dip it into the glue/water mixture and affix it to the middle of the cuff, as seen above. Press down firmly.

IMG_8138

3. Spread white glue thickly onto the top and bottom border of the cuff (inside the lines if you drew them) and affix your macaroni.

IMG_8142

4. Bend the tubes back into bracelets and let dry.

IMG_8146

5. After completely dry, a parent, or other adult, can spray the outside of the cuffs with gold spray paint.

IMG_8143

Voila! They dry quickly and are ready for play. Again, they are quite sturdy and look so much cooler than one would think from the materials used to make them!

I hope you enjoy making these Egyptian bracelets too!

Gold thoughts and cheer,

Karen

Categories: Family fun, History Rocks For Kids! | Tags: , , , , , , , , , , | 7 Comments

Make A Ming-Inspired Bowl!

IMG_8121

These sweet bowls would make lovely Christmas gifts for family & friends!

We’ve been studying the beginnings of Ancient China and highly recommend this straight-up fun project for all ages. If needed, parents can help younger kids in between making a Ming bowl for themselves!

You’ll Need: A large ball of air-dry clay (I have some of the Crayola brand, and it works great, and is affordable at about $5 for a tub), plastic wrap, a small round bowl, a rolling pin, a sculpting tool or blunt knife, acrylic paints, a clear acrylic sealing spray, or a mixture of glue and water, to glaze the finished piece.

1. Wrap the outside of your bowl in plastic wrap.  I recommend using a smaller “condiment” sized bowl for the first one.

2. Roll out your ball of clay to no less than 1/4″ thickness, making sure it is big enough to cover the outside of the bowl. Press it tightly around the bowl, then use your tools to trim away any excess. Be sure not to make the air-dry clay too thin or the bowl will crack when it dries (we did this and then used the pieces as “archaeology pottery” 🙂 )

3. Place the bowl on a piece of newspaper and allow to dry in an airy place. Don’t put it in the direct sun or it can dry out too fast and crack. It should be dry by the next morning.

4. Remove the dried bowl from the form and paint! Ancient Chinese pottery was usually decorated with pictures of birds, flowers, and outdoor scenes, painted in whites and blues. Captain painted hers with cobalt blue, let it dry, then painted flowers and bird shapes in moon yellow. She was a little bummed that her birds didn’t come out the way she wanted, but they are fabulous! She even added a little tiny “M” for “mom” in the center of one of her flowers… ahhh!

IMG_8081

5. After the piece is completely dry, a fine sharpie can be used to write a name, or initials, and date on the bottom. What a sweet keepsake!

6. Spray with clear acrylic sealer (adults only), or you can glaze it with a mixture of 2 parts white glue to 1 part water. These both will give it a shiny glaze coating, which we love. Or, you can leave it as is.

IMG_8114IMG_8117

Before and after I sprayed the acrylic seal on

Fun, simple and a little “M” to boot. I love it!  I hope you and/or your kids will give this a try. Check out Google images to share some traditional Ming bowls and pottery with your kids. Captain has been inspired to try making another one that looks like this:

Unknown

A gorgeous flower bowl from the 1300’s

We got the idea for this project out of The Story of the World: History for the Classical Child, Ancient Times. We thank you kindly!

Cheers, Karen

Categories: Art Rocks For Kids!, Family fun, Homeschooling Projects, Social Science Rocks For Kids! | Tags: , , , , , , , , , , , , , , | 4 Comments

Budding Egyptologists: Make Your Own Canopic Jar!

IMG_7269

Greetings! This is a straight-up wonderful project for kids and adults alike. Captain made her very own canopic jar as part of an extensive study of ancient Egypt, and it has turned out to be a wonderful art piece, not to mention a terrific keepsake of this lovely period in her life.  I HIGHLY RECOMMEND THIS ONE! These jars are made from a condiment squeeze bottle (like ketchup!), wadded-up paper towels, masking tape, pre-plastered gauze rolls (I used the leftovers from a belly-cast I did while I was pregnant), Crayola air-dry clay, and paint.  Kids could also create an entirely different style of jar using this method, without an Egyptian theme, if desired, and the possibilities are creatively endless!

In the time of Ancient Egypt, canopic jars were used to store particular organs of the body during the mummification process, and were placed in the tomb along with the sarcophagus containing the prepared body. The jars had lids, or stoppers, that were shaped as the heads of the minor funerary deities known as the Four Sons of Horus. It was the job of these deities to protect the internal organs of the dead. Ancient Egyptians firmly believed that the deceased required his or her organs to be reborn in the Afterlife. The organs needed to be removed from the body so that it would not decay, but needed to be present with the body, so the jars were used for their storage. They were made of natural materials such as limestone, wood, pottery, alabaster or calcite. There were 4 jars used. The deity Hapy, the baboon, was for the lungs, the human-headed Imsety guarded the liver, Jackal-headed Duamutef held the stomach and the falcon-headed Qubehseneuf took care of the intestines. Fascinating! Captain chose Duamutef for her jar and created a wonderful jackal-head out of simple air-dry clay right onto the squeeze bottle top!

When Captain decided she wanted make her own jar, I found the instructions for this project at Detroit Institute of Arts Lesson Plans for Teachers. Here are the supplies you will need:

IMG_0510

One plastic squeeze jar or bottle with a top (preferably a pointed top as shown above, because it provides an armature for holding the clay head tightly in place and makes it much sturdier), pre-plastered gauze rolls, self-hardening modeling material, like Crayola’s brand, masking tape, paper towels or newspaper, acrylic or tempera paint, paint brushes.

IMG_0511

Step One is simple and fun. Use wadded up paper towels and masking tape to create a canopic jar “shape”.  I pulled a bunch of strips of tape off and had them ready for her and helped her to hold the paper towel wads onto the jar as she taped.  She stopped when she got to the shape she desired. Leave the top of the squeeze bottle in place while creating the body of the jar, including applying the plaster strips.
IMG_0513

Step Two: I pre-cut the plaster gauze rolls into strips and had a bowl of water on hand. Dip each strip quickly into the water and apply to the jar to cover completely in overlapping layers. Cover the bottom first and work up from there, covering the entire jar and smoothing it all down as you go. Do NOT cover the jar tops, as the heads will be formed later with clay, after the body of the jar has dried.IMG_0514

While the jar then dries for a day or so before painting, the top can be removed to start working on creating the head!

IMG_0516

Step Three: If it has not already been decided, the child should choose which of the 4 deities they would like to make. Captain chose Duamutef, the jackal-headed god, and there were lots of gooey comments about the stomach that would have gone into this one 🙂 I basically gave her a smooth ball of air-dry clay, she flattened the bottom, and I helped her press the lid into it. Again, the pointed tip provides an excellent armature for making a solid head.

IMG_0517

Using clay tools, or anything you have on hand like toothpicks, knives etc., help guide your child in carving out the basic shape of the desired head. I explained that she would need to remove clay from under the “chin” and extend the nose to get the jackal face that she wanted, and she did an awesome job shaping the clay. I helped a little bit here and there. I showed her how to add the ears before adding the final details to the face. I got out some toothpicks and after she shaped the ears, I showed her how to use a toothpick to secure the ears to the head and then use her fingers to carefully sooth the clay down to help secure the ears in place. The jackal is the only one that has ear “extensions” like this, and we really wanted to make them sturdy! The air-dry clay was very thick and took a few days to dry outside.

IMG_0520

Meanwhile, the body of the jar had dried and was ready to paint! If the jar and lid are both going to be one solid color, you can wait to paint them both at the same time, but there are endless ways to paint and decorate the jar. Captain went for a solid-color “stone” look after painting the bottom of the jar a dark color and then changing her mind.

IMG_7212

Using acrylic paint, she mixed the desired colors…

IMG_7216

Painting the jackal head…. It looks so cool!!

IMG_7211

Painting the jar was fun. When she got bored with painting it the second time, Dad jumped in and helped too!

IMG_7262

After the jar is completely dry, screw the head right on! Fantastic! This is a terrific project and I want to thank the folks at DIA for sharing this wonderful method. Captain’s jackal-headed canopic jar has become a conversation piece at our home, and we all LOVE how it turned out and are very proud of her. This project stimulates so many things like creativity, history, culture, patience, imagination! We talked about Ancient Egypt a lot while working on this and throughout our other Egyptian projects, which will be coming up here on Kartwheels. I would like to add that any project that allows for mistakes to be made with solutions to be figured out is terrific for kids. When the jackal head and jar were outside drying, Captain tried to play with the head and snapped one of the almost-dry ears off of her jackal. She was devastated and cried that it was ruined and was ashamed of herself for trying to mess with it after we had advised that it not be touched until dry. It was a wonderful moment when I came out of the house with some Gorilla Glue and together we reattached it and also filled in a couple of small cracks.  Voila! It was a gentle reminder that most things can be fixed, and I got a giant hug too 🙂

Read more about Canopic jars of Ancient Egypt here and definitely google “canopic jar images” to see some fantastic examples of both ancient canopic jars, and handsome ones made by students and Egyptologists alike!

Visit Discovery Kids to try your hand at preparing a body for mummification online, courtesy of BBC.

Thanks so much for reading, and if you try this project with your kids, we would love to hear about it!

An ancient tomb of echoing cheers to all,

Karen

Categories: Art Rocks For Kids!, History Rocks For Kids!, Homeschooling Projects | Tags: , , , , , , , , , , , , , , | 10 Comments

Why I Feel Easels Are Vital For Young Artists!

IMG_4019

Captain standing at her easel with her painting titled “Sunset Della” June 2012

IMG_0865

Painting outside 

IMG_6197

This is a painting she made for me back in November, 2010 when she was 3 years old.  Because she was outside painting, she got inspired to add walnut leaves and pistachio shells, which give it terrific dimension.  I love it!

IMG_4194 IMG_4196

Painting outdoors rocks!

ART FREEDOM!!!!  OH YES, LET THESE KIDS HAVE THEIR ART AND EAT IT TOO! (Okay, maybe just a little taste…..)

I was given an artist’s easel many years ago and it sat in my closet unhappily gathering dust. Well, my daughter, Captain, has been interested in art and painting and creating since she was 18 months old. I realized early that she needed to touch and use everything that was safe for her right from the beginning. That is when I made my commitment to let her artistic freedom go wild and I would be the one to run along after her and gather up the pieces. I also realized that it would be my responsibility to be sure she was exposed to many new ideas and techniques. Voila! That was all it took.

When Captain was about 2 1/2, I pulled the easel out of the closet and set it up for her. It sighed in relief and stretched its legs. It is a French-style easel, with adjustable legs, and it was pretty easy to drop it down into the right level for her. It was amazing! Someone commented to me that it seemed a little “advanced” to set up a “real” easel for a kid that age, but they were wrong. Why would I try to “control” her desires to create her own artwork, or think that I somehow know something more about it than she does, simply because I’m an adult?  Bulls@&t!  I say let them have it all, as long as they are ready to handle it and WANT it, whether it be age 2 or 92!  I also gave her (safe) scissors at a very early age and she never cut off her finger or stabbed herself in the eye.  I practice good parenting (I think) in that I supervised these new things.  I certainly don’t have to do that now.  Captain is 5 and does her own thing.  She comes up with amazing projects all on her own and has an artist’s secrecy many times while she is working.  We have provided her with an indoor small oak table with shelves to work indoors and outside is at her discretion. You can see this simple, effective set-up here.

Now, back to the easels.  I truly believe that sitting down at a table and drawing and painting is a very good thing for many projects.  However, there is something incredible that happens when an artist of any age can be standing up, their paper or canvas right where they want it, and at a good angle.  We hold the brushes in different ways when we are standing. We can be outside or in, and can find inspiration in different ways than sitting down.  Kids feel special when they stand (or wiggle and bop) at an easel. Try setting up an easel for your kid and turn on their favorite music, or something culturally different than what they have heard before. Paint to African drumming, Scottish clan chants, or grab some Tito Puente and go for it.  It rocks!!!

Or, how about a little quiet outdoor nook, where the sounds of the wind sway in the trees and you suddenly notice a robin jumping across the grass?

My point is, that it is so worth it to provide kids with good materials from the start.  You are wondering how much one of these easels might cost? Well, the prices can start at shockingly reasonable and shoot skyward from there.  I do have a few suggestions:

A very affordable, wooden desk easel: Art Alternatives Marquis Desk Easel sells for $15 on Amazon.  It is a desk model so it can be used inside too, and folds up nicely.  It doesn’t have legs so it would have to be placed on a chair, stump or something else for standing outdoors.

I prefer “adult” easels that are adjustable, as anyone can use them and they “grow” with the kids.  These start at about $70 and are everywhere online.  Melissa & Doug make a Standing Easel for $59 on Amazon.

Both Amazon and Costco-online sell the Kid Kraft brand easels that are super cute, quite sturdy, and they have storage space too. They run from $97-129. Scan Craig’s list, ebay, and whatever other local sources you have to find them for good prices.  Again, it is SO worth it!!

I also have one last, quick recommendation.  You can buy “kids” paintbrushes everywhere, but I find that a set of the “real” brushes, in varying sizes and styles, is way better, and often cost the same or even less than the kid ones.  I have been buying Artist’s Loft basics brushes at Michael’s Craft stores for years.  They come in sets of 12 for about 6 bucks and are terrific!

If I could, I would start a foundation to buy, and deliver, easels, paints and brushes to kids all over the world.  I just want them to have a chance to create with good quality “ingredients” in a world where the focus on the arts in everyday life seems to be dwindling.  I would like to throw out big kudos to all of the art teachers, artists, parents, and others that are keeping the freedom of artistic expression alive for kids.  They are the now AND the future, and they have so much to say….

A big, drippy, colorful palette of good thoughts to all!

Karen

Categories: Art Rocks For Kids!, Homeschooling Projects | Tags: , , , , , , , , , , , , , , | 18 Comments

A Wonderful & Safe Medium For Young Artists: Painting With Kool-Aid Rocks!

OLYMPUS DIGITAL CAMERA

Captain at 22 months painting with kool-aid outside on a sunny day

Want a better use for cheap packets of kool-aid than mixing it with a ton of sugar and drinking it?  Mix it up as safe watercolors for your little ones!  I couldn’t believe how simple and easy it was to do, and it really works well.  Kids really love to explore art at very early ages by drawing and coloring.  Why not give them a chance to paint too?  Before Captain turned two, she had already done a lot of coloring and drawing, playing with clay, and finger painting.  She saw me use paintbrushes when she was about 20 months old and wanted them for herself.  I couldn’t deny her!  I searched the house for something she could paint with that wouldn’t hurt her if she suddenly popped the brush into her mouth or got it into her eyes.  I found some old packets of kool-aid (the ones that don’t have the sugar already added) in grape, lemon, orange and raspberry. I mixed them up with just enough water to make “watercolors”. They smelled good to her, but I told her that they were not to eat and she NEVER tried to eat the paint.  I used the plastic tray from a box of crackers for a little “palette”. I taped down two pieces of paper at a time onto a table that was low enough that she could stand at it. I don’t think first time painting should be in a chair.  I could see how much she wanted to move around the table and be up over the top of it.  It’s exciting! Another cool thing to do is to tape paper to a post, or outdoor wall, so that kids can stand up and paint “easel-style”.  It just adds more to the ever-evolving experience of art, in my opinion. Keep a glass of water nearby for rinsing the brushes and a rag for little wipe-ups.

This early art-experience was such a cool foundation for so much more painting, and more mediums, to come!  She got to brush up (hello pun!) against methods, tools, and ideas, that artists of every age use, like a palette, real brushes, imperfections (there are spills sometimes, paper can get too wet etc.) and it made her feel very proud of herself. Okay, here is something else cool about kool-aid painting: You can make scratch-n-sniff works of art!!!!  Yes, the fruity smells do wear off after a couple of weeks, but it is fun to make simple shapes, like a sun, and then scratch them to sniff the lemony sweetness!  The thicker you mix the kool-aid paint, the more scent your “scratch-n-sniff” artwork will have.  Fun!

OLYMPUS DIGITAL CAMERA

Tape the paper down onto the table to avoid frustrating paper-slippage 

OLYMPUS DIGITAL CAMERA

Oh, it is fun Mom!

OLYMPUS DIGITAL CAMERA

OLYMPUS DIGITAL CAMERA

She called this one her “Bird on a Branch” 

OLYMPUS DIGITAL CAMERA

Captain got used to painting with the kool aid and then quickly moved on to washable kids’ paints.  It wasn’t very long before she tried her first acrylics!

OLYMPUS DIGITAL CAMERA

Kids love to see their artwork displayed, no matter what age they are.  This was our first “wall of art”.  We used to regularly switch out the pieces for new ones.  I’m so glad I took this photo to remember the beginnings of so many wonderful works of art!

I highly recommend purchasing an artist’s smock for children.  An oversized tee-shirt works okay, but my kiddo tends to dive right in with paints and other materials, and I like to protect her clothing.  We had a Young Artist Smock, which sells for $7.78 on Amazon. I liked this smock better than the “apron style” because it has long sleeves (for messy art!), slips on easily, and has a loose back, with a strip of velcro to close it quickly.  These smocks come in only one size, which fit most preschoolers, and I only wish that they made them in the next size up!

I hope you enjoy this style of painting with your little ones.  If you do any kool-aid painting, I would love to hear about it here on kartwheels!

Cheers and fruity goodness to all,

Karen

Categories: Art Rocks For Kids!, Homeschooling Projects | Tags: , , , , , , , , , , , , , | 14 Comments

Calling all K’ARTwheels Kids: Make a Fabulous Color Wheel Gecko!

OLYMPUS DIGITAL CAMERA

Captain’s Gecko turned out great…. Turn the color wheel (poking out on the left hand side) and the gecko changes color!!!

Once in awhile, when working with kids, we come across a project or idea that is truly remarkable.  When a project really lights a kid up and makes them want to create something special, and they are willing to see it through to the end, it is a keeper.  This project has it all! Captain has been working on a science project involving geckos and wanted to add an art piece to it, so I looked around online and found this fabulous color wheel gecko conceived by Gail Bartel of  that artist woman.  Her site is incredible!!!  She is a terrific artist, and educator, and we will certainly be visiting regularly as there are so many great projects.

I want to share photos, the materials list, and a general idea of how we put this project together.  If you decide to try this, PLEASE use the link above to visit Gail and see the original project and photos. You won’t regret it.  The moving color wheel-in-a-painting concept could be adapted in so many creative ways.  The opportunities are endless! From this project, your child will gain an understanding of the basic color wheel, as they create one themselves, and understand how different components can come together to create an interactive piece that will wow family and friends.  I want to add that we did this project in several sessions.  This is not a super quick process, and I followed Captain’s lead as to how much we did each day, so you’ll want to plan accordingly.  There were times that she was ready to keep going but the paint had to dry!  Now, lets take a little peek!

IMG_5748 IMG_5749

After the circle was cut out, Captain painted her color wheel first.  

Materials you will need:  

Tempera or watercolor paint (we used watercolor)

2 sheets of watercolor paper (we used a larger size: 11×15)

Fine sharpie

Template: click here to use Gail’s, or make your own.  I looked at Gail’s drawing and sketched one for Captain

Scissors, pencil, eraser

Paper fastener

Tape

Transparency sheet, optional but WORTH IT! (I found an old, clear report cover that worked great.) It just has to fit the gecko cutout.

IMG_5750

Captain’s dad cut out the gecko template for her.  Gail shows a way on her site that students can do this step themselves without using an exacto knife, which can be dangerous.

IMG_5751

Once the gecko was cut out, Captain sketched her background using Gail’s example on that artist woman as inspiration.  When she was done, we got out the watercolors!

OLYMPUS DIGITAL CAMERA OLYMPUS DIGITAL CAMERA

She painted the sky in the background last and was really excited!

OLYMPUS DIGITAL CAMERA

This photo shows the gecko painting upside down on the counter with both the fastener and transparency taped in place.  Time to add the color wheel!

OLYMPUS DIGITAL CAMERA OLYMPUS DIGITAL CAMERA

She lined it up and got the fastener up through the hole.  This is the point when she realized why we put the color wheel “off center”.

OLYMPUS DIGITAL CAMERA

This is a super fun step.  After everything was attached, she turned it over and got to add the gecko’s details right onto the the transparency with the sharpie.  Cute!!

OLYMPUS DIGITAL CAMERA

Turn the wheel (showing on the left) and the gecko changes color!  She took her piece to one of her classes to let her friends see it and turn the wheel.

Yay!  This a terrific project and I want to thank Gail Bartel again for the inspiration.  If you decide to do this project, we would LOVE to see the results!

Cheers and colorful-friendlieness to all!

Karen

Categories: Art Rocks For Kids!, Homeschooling Projects | Tags: , , , , , , , , , , , , , , | 19 Comments

Tempera Still Life Painting Project With Kids!

IMG_5011

When my daughter painted her very first still life, it was amazing to watch her really envelop herself in the whole process, and have so much fun doing it.  She arranged her fruit, mixed her own paints with 3 primary colors, sketched, and then painted, her subject.  Watching her delight as she discovered that adding a few simple lines gave the bowl depth was priceless. It was such a wonderful experience for both of us, that I would like to share our version of a still life painting “learning unit” for kids. This is just what we did, you can adjust along the way to suit the child’s needs.  This is a project to delve into when the child is relaxed and feeling creative. This is not a project to do today if mom or kiddo is feeling rushed.  Early still life painting is special and needs as much time as it takes.  Here goes!

Supplies to have ready:  bowl, fruit, pencil, powdered tempura paints in red, yellow and blue, paint smock or old shirt, paint brushes, newspapers, black marker, glass of water and rag to rinse brushes, thick paper suitable for paint, popsicle sticks or spoons for mixing the paint, and a small plastic palette or little cups for the paints.

Step 1.  We talked about what a still life is, as we gathered materials. Basically, a still life is a picture of  inanimate objects, such as fruits, flowers, books, etc., usually grouped on a flat surface.  I also took this opportunity to reiterate the terms “landscape” and “portrait” in terms of placement of the paper.  Portrait is when the shorter side of the paper is at the top, and landscape is when the longer side is at the top.

Step 2.  Captain chose a bowl and as she arranged her fruits just so, I took a moment to talk about the term “arrangement”.  Help your child take the time to arrange, and not just throw the objects in the bowl or on the counter.  This is a still life, and composition is important. I told her that an artist usually takes their arrangement very personally.  How the artist places the fruit is important for composition. (I didn’t explain exactly what “composition” means to her at this time, just threw it right out there with everything else.)  We were low on fresh fruits, so we used some plastic bananas and grapes to fill it out.  She really enjoyed placing everything just so. She took her time with the arrangement and decided that the grapes were too squished-looking by the pear, and changed it around and placed the banana gently on top.  Voila!  Now THAT is how we arrange things.  Fantastic!  Make sure there is good lighting for the objects.  A small lamp can even be used to enhance the light source.  Before she started sketching, we talked about lighting and depth.  “See how the light shines from one direction and changes the colors and makes shadows?”

Step 3. Captain sketched her still life by drawing a large circle for the bowl in pencil, and then drawing many circles bunched together for grapes, and other shapes for the rest of the fruit.  It was great!  After she sketched, we took a break and then returned to mix the paints.

Step 4. From the 3 primary colors we had, Captain was able to make all of the colors she needed to paint her still life.  She measured out about a teaspoon of powdered paint into her cups and mixed water, a little at a time, to make her colors. (I wish I had offered her a dropper to use for the water as I think she would have really liked using one with the paints.  She could take her time and add drop by drop, because that works with her personality!) She needed red, green, purple, yellow and orange to complete her project.  She mixed her colors and painted her fruits and bowl.  This is a good time to remember that red and yellow make orange, and so on!  The painting looked wonderful already!

Step 5.  The paints dried quickly, and, after a snack, we talked about outlining the fruits to give them more drama.  It was just a choice that I offered to her and she leaped to the idea immediately. We didn’t have black paint on hand, and she was ready for a change, so she used a black marker to outline each fruit and to add a line inside the bowl to give it more depth. She was amazed by this.  I held it up before she drew the line, and after, so she could see the difference, and she exclaimed “Wow!  It really looks like a bowl!!!”

Step 6.  After lots of ooohs-and-ahhhhs over the painting (!), now is the time to ask the child if they would like to give their still-life a name (always refer to it as a “still life” and not “picture”). Captain didn’t want to give hers a name and so we called it an “untitled painting” and talked about it.  I have found that kids like to discuss their paintings after they are done.  She wanted to talk about the colors, the arrangement and how she felt while she was doing it.  She was positively lit right up! I just can’t express how cool it was to be with her while she talked about her art with such animation.  We hung it right up and she couldn’t stop admiring it. When her dad came home, he barely got into the door when she rushed him over to admire it.  Even now, a few months later, when someone comes visiting she often takes them right to her still life to tell them all about how she did it.  She is so proud and I am even more proud than she is!

IMG_5017

Captain’s very first still-life!  She LOVED this project and wants to do more and more…

After the fact, it is wonderful to show some examples of famous still lifes throughout history. I prefer to show Captain other artists’ works after she has done hers.  I just want art to be pure and open for her so that she can approach things with her own creative mind and heart, without preconceived notions of how it “should” be. There are so many still lifes to choose from in art books, magazines, online etc. I will leave you with 4 wonderful examples to share with your little artists.  Thanks for reading.
Cheers!  Karen

Paul_Gauguin_116

Still Life with Apples, a Pear, and a Ceramic Portrait Jug (1888) Paul Gauguin (1848-1903)

Jan_Bruegel_d._Ä._007

Bouquet (1599) Jan Brueghel the Elder (1568-1625)

Georg_Flegel_001

Pfirsichzweig (Peach Twig) (1630)  Georg Flegel (1566-1638) 

Matisse_-_Dishes_and_Fruit_(1901)

Dishes and Fruit (1901) Henri Matisse (1869-1954)

Categories: Art Rocks For Kids!, Homeschooling Projects | Tags: , , , , , , , , , , , , , , , , , , , , , | 5 Comments

Easy Dough Ornaments For Easter, Or Anytime!

OLYMPUS DIGITAL CAMERA

Here is a very simple recipe for craft dough for making cool ornaments. These dry quickly so there isn’t an overnight-wait period for little crafters 🙂

This dough is great to use for any ornament shapes, using cookie cutters, and you’ll want to have some colorful yarn, or ribbons, on hand for hanging the sweet creations when finished.  After the paint dries, Captain likes to write her name and the date on the back with a black, fine-tip permanent marker, which adds such a nice touch for gifts for family.  This is a perfect Easter craft too, as a simple egg shape looks adorable with any colors or patterns!

Method

4 cups flour, 1-1/2 cups water, 1 cup salt

Preheat oven to 300 degrees F.  Combine flour, salt and water (excellent time to let the kids measure & mix!) and after mixing well, knead for 10 minutes (let the kiddos set the timer and help knead too!).

Roll out onto floured surface and cut into desired shapes.  Make a hole for hanging.  Bake for 30 minutes and allow to cool.

Paint with tempera paints and allow to dry. You can now write on them with permanent markers, if you like. Spray with clear polyurethane on both sides.  Hang from ribbons.  I hope you enjoy making these with your little ones…

Good thoughts, Karen

Categories: Art Rocks For Kids!, Homeschooling Projects | Tags: , , , , , , , , , , , , , , , , , , , , | 3 Comments

Art Rocks! Kids are doing it for themselves…

OLYMPUS DIGITAL CAMERA

One of the Colors of Her Hair – ink on paper, September, 2011

This is a drawing that Captain did right before her 4th birthday.  She was very into human anatomy and was so proud to have drawn ribs for the first time.  We just love this piece, and the cool name she gave it,  and framed it to hang on our kitchen wall at The Cabin.

Kids do amazing things when they are allowed the freedom to express themselves through art and music!  I am a huge proponent of letting kids use any art supply available, as long as it is safe. I will be posting photos of artwork from kids, and adults as well, from time to time here on kartwheels.  Sometimes it feels really great to just know that others have viewed your work!  If you have a piece of artwork to share, please contact me and we’ll try to post as many as we can.

Happy creating and cheers!  Karen

Categories: Art Rocks For Kids!, Homeschooling Projects | Tags: , , , , , , , , , , , , , , , , , | 7 Comments

Blog at WordPress.com.