These sweet bowls would make lovely Christmas gifts for family & friends!
We’ve been studying the beginnings of Ancient China and highly recommend this straight-up fun project for all ages. If needed, parents can help younger kids in between making a Ming bowl for themselves!
You’ll Need: A large ball of air-dry clay (I have some of the Crayola brand, and it works great, and is affordable at about $5 for a tub), plastic wrap, a small round bowl, a rolling pin, a sculpting tool or blunt knife, acrylic paints, a clear acrylic sealing spray, or a mixture of glue and water, to glaze the finished piece.
1. Wrap the outside of your bowl in plastic wrap. I recommend using a smaller “condiment” sized bowl for the first one.
2. Roll out your ball of clay to no less than 1/4″ thickness, making sure it is big enough to cover the outside of the bowl. Press it tightly around the bowl, then use your tools to trim away any excess. Be sure not to make the air-dry clay too thin or the bowl will crack when it dries (we did this and then used the pieces as “archaeology pottery” 🙂 )
3. Place the bowl on a piece of newspaper and allow to dry in an airy place. Don’t put it in the direct sun or it can dry out too fast and crack. It should be dry by the next morning.
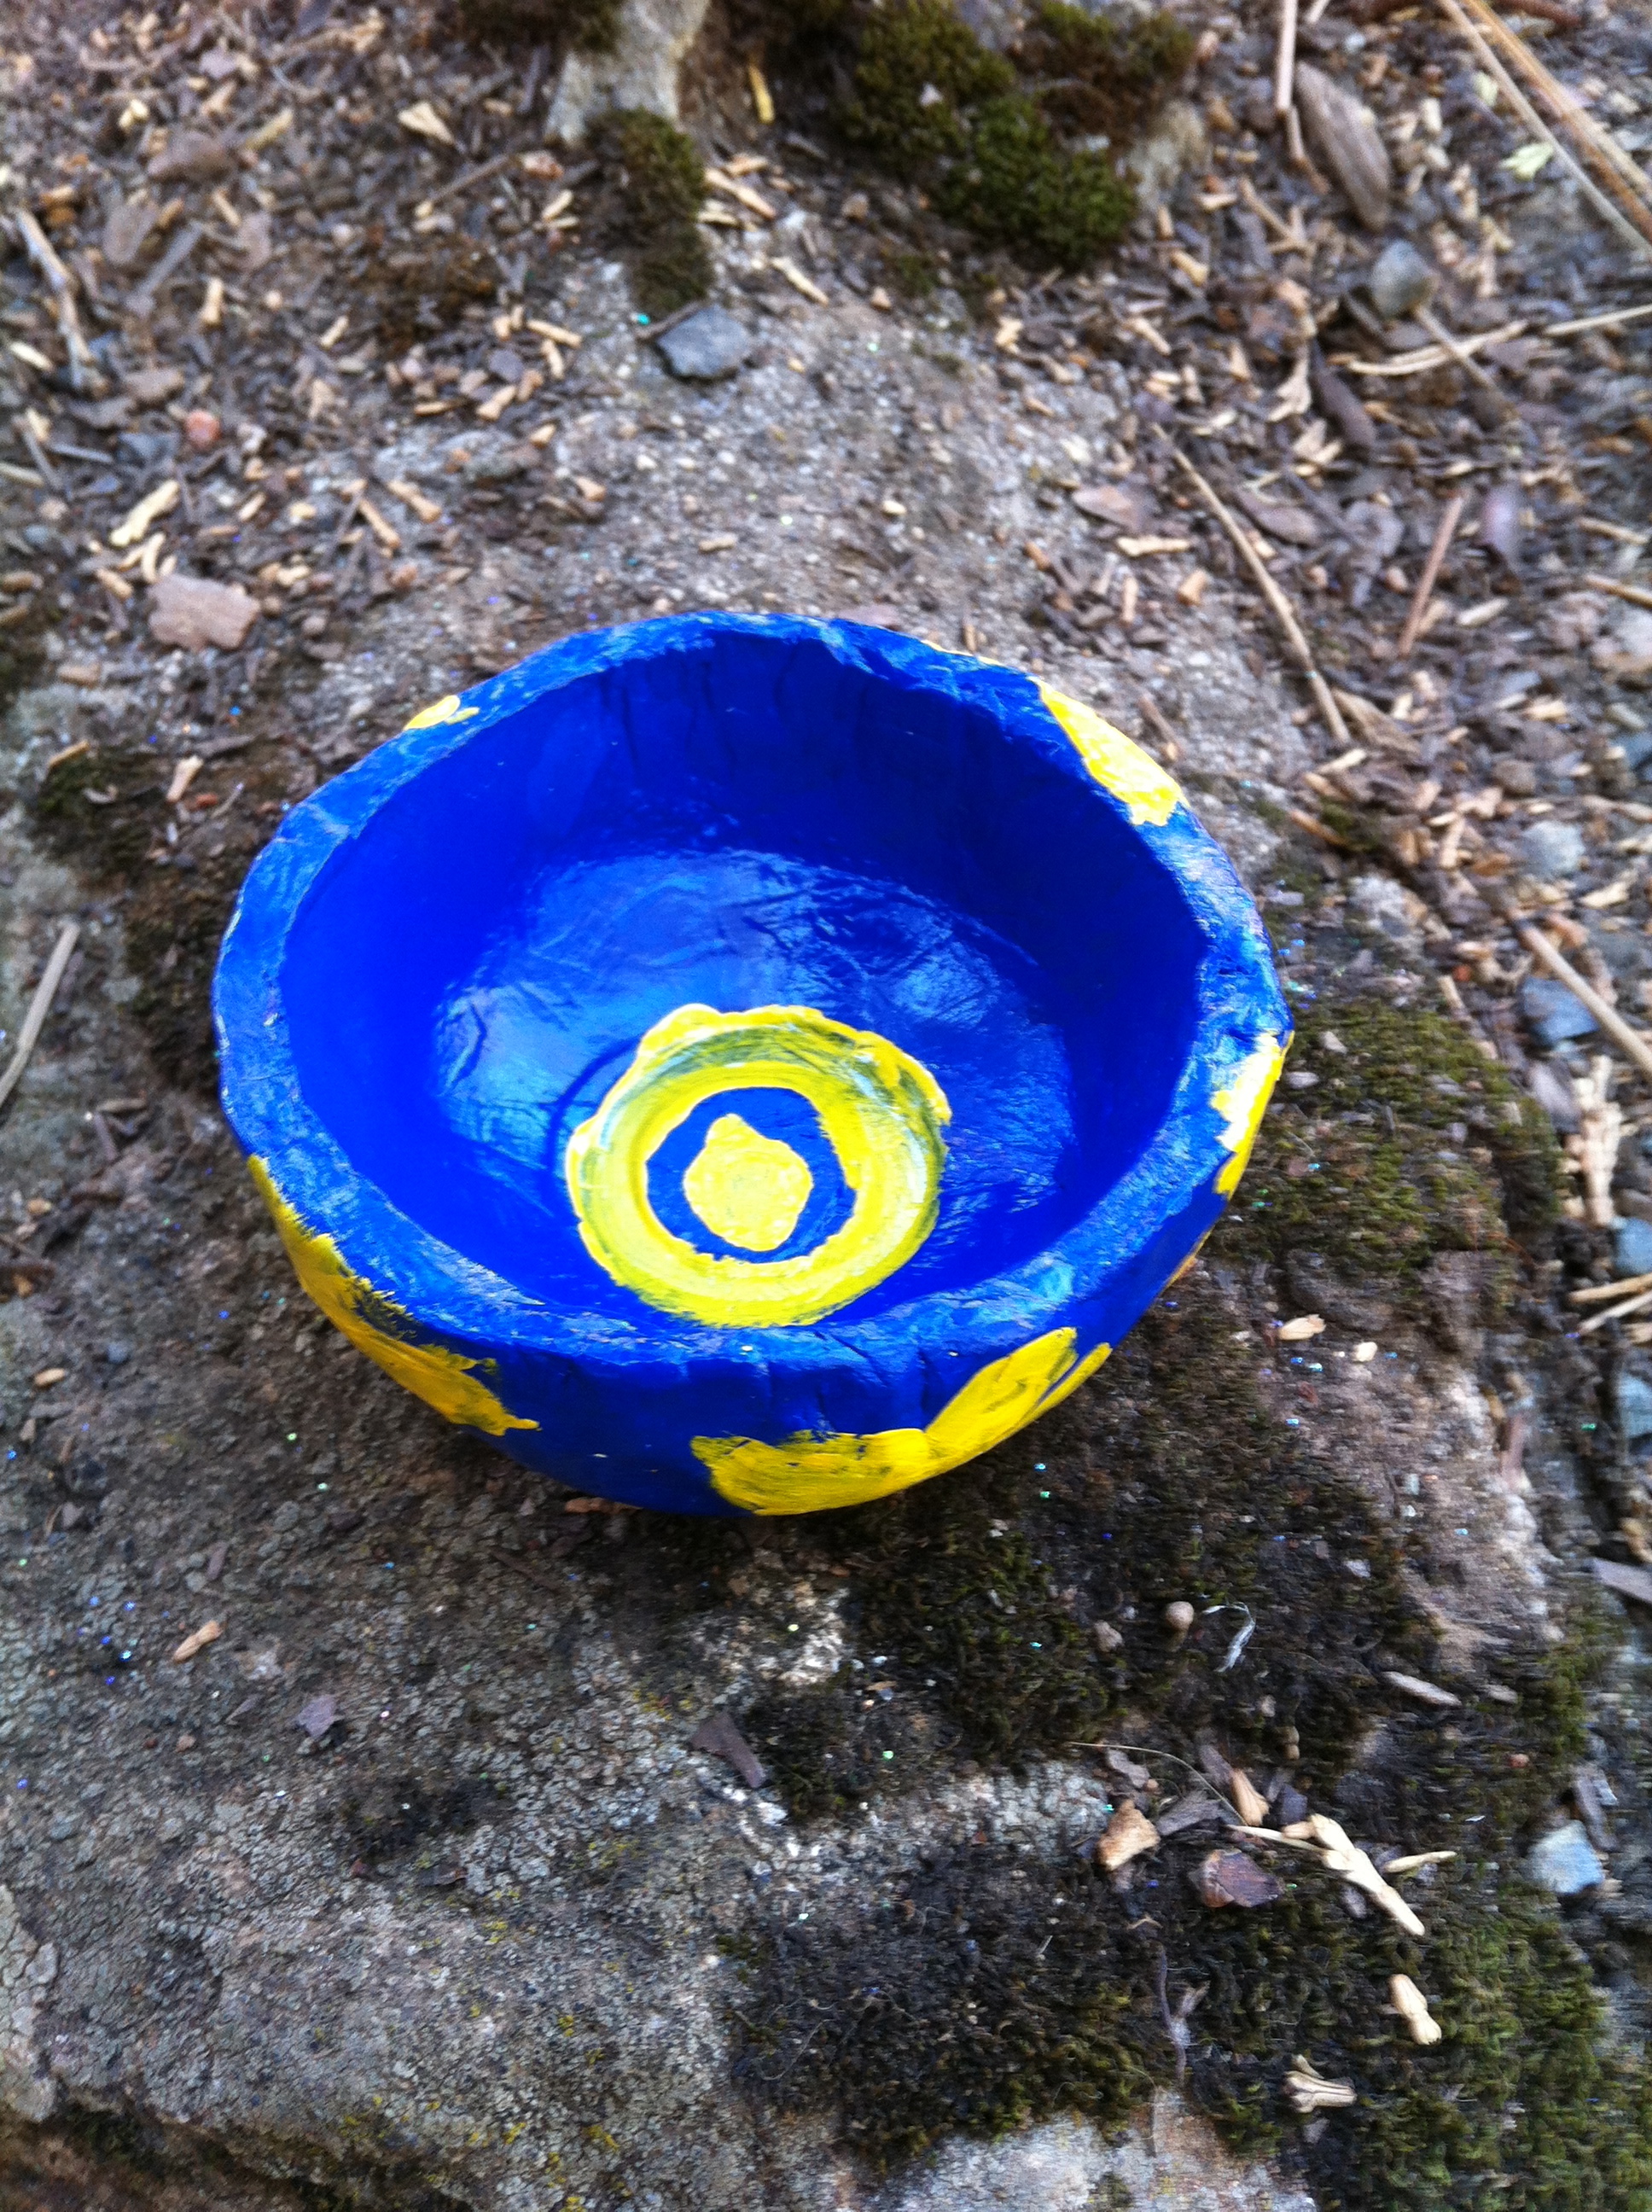
4. Remove the dried bowl from the form and paint! Ancient Chinese pottery was usually decorated with pictures of birds, flowers, and outdoor scenes, painted in whites and blues. Captain painted hers with cobalt blue, let it dry, then painted flowers and bird shapes in moon yellow. She was a little bummed that her birds didn’t come out the way she wanted, but they are fabulous! She even added a little tiny “M” for “mom” in the center of one of her flowers… ahhh!

5. After the piece is completely dry, a fine sharpie can be used to write a name, or initials, and date on the bottom. What a sweet keepsake!
6. Spray with clear acrylic sealer (adults only), or you can glaze it with a mixture of 2 parts white glue to 1 part water. These both will give it a shiny glaze coating, which we love. Or, you can leave it as is.
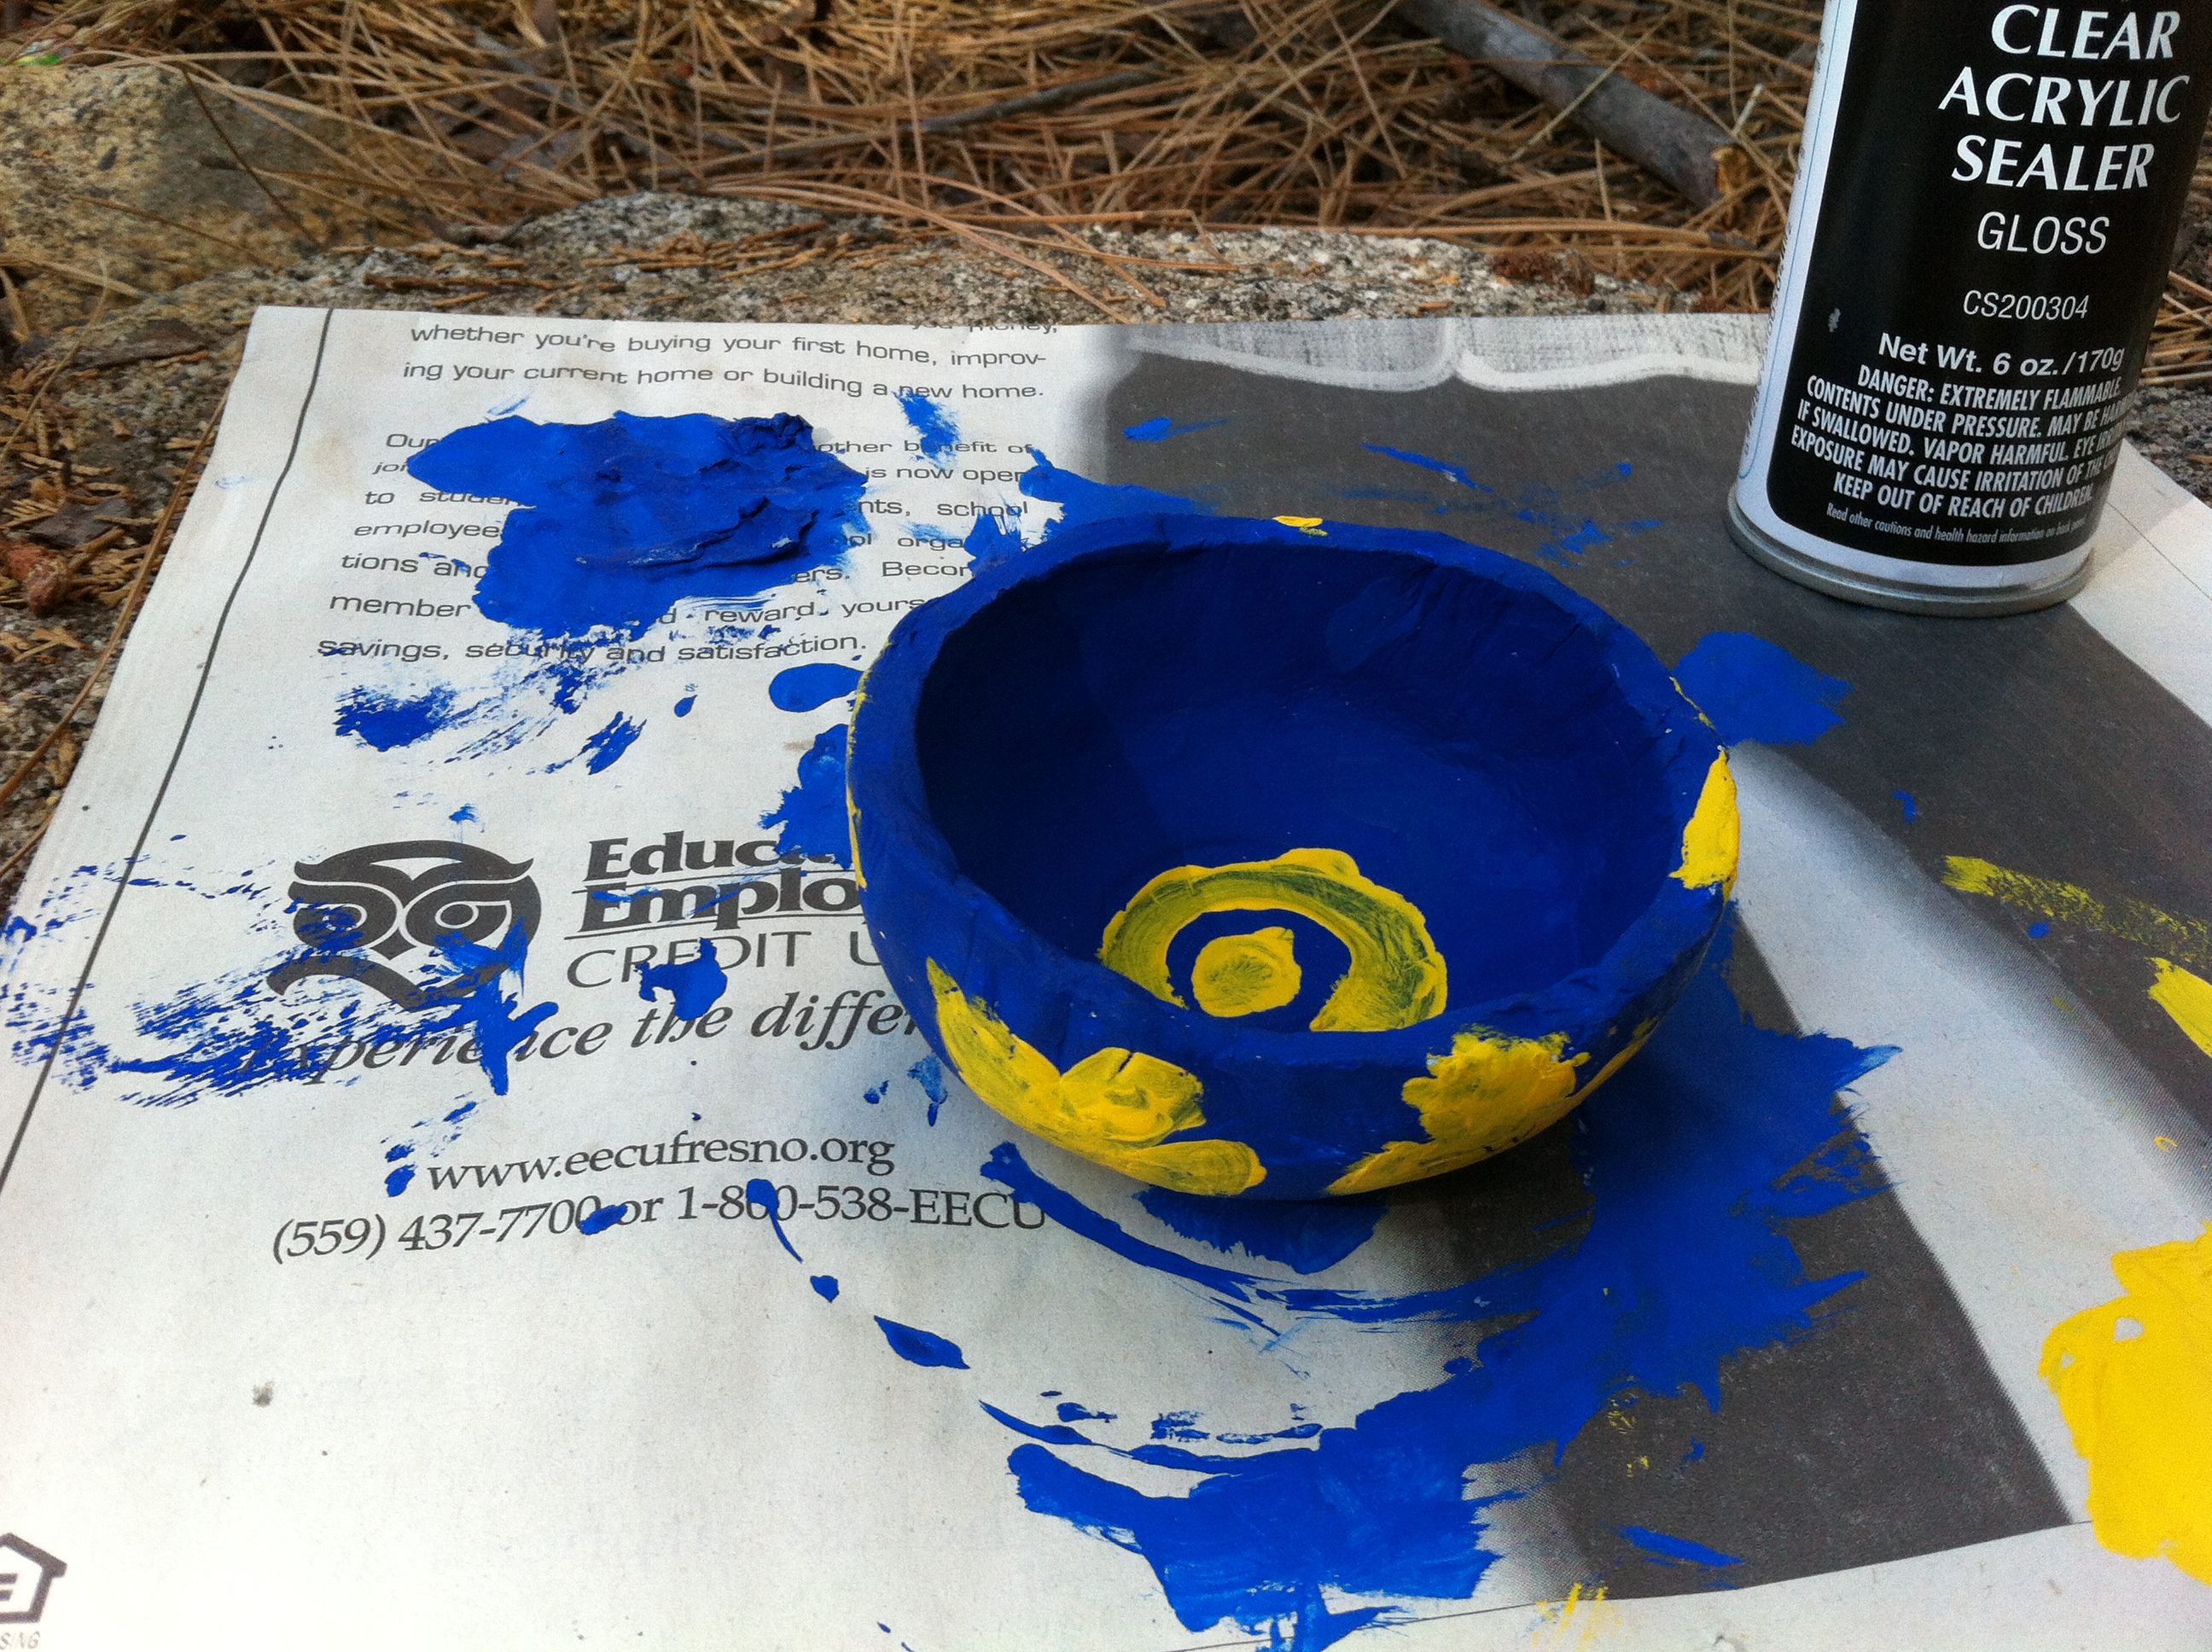

Before and after I sprayed the acrylic seal on
Fun, simple and a little “M” to boot. I love it! I hope you and/or your kids will give this a try. Check out Google images to share some traditional Ming bowls and pottery with your kids. Captain has been inspired to try making another one that looks like this:

A gorgeous flower bowl from the 1300’s
We got the idea for this project out of The Story of the World: History for the Classical Child, Ancient Times. We thank you kindly!
Cheers, Karen


I love Captain’s version!
I’ll let her know 🙂
Love it!!! I think I will get some clay next time I’m at the store. 🙂
You’ll have fun with this one and the clay is nice to have around too 🙂 Thanks for writing in!